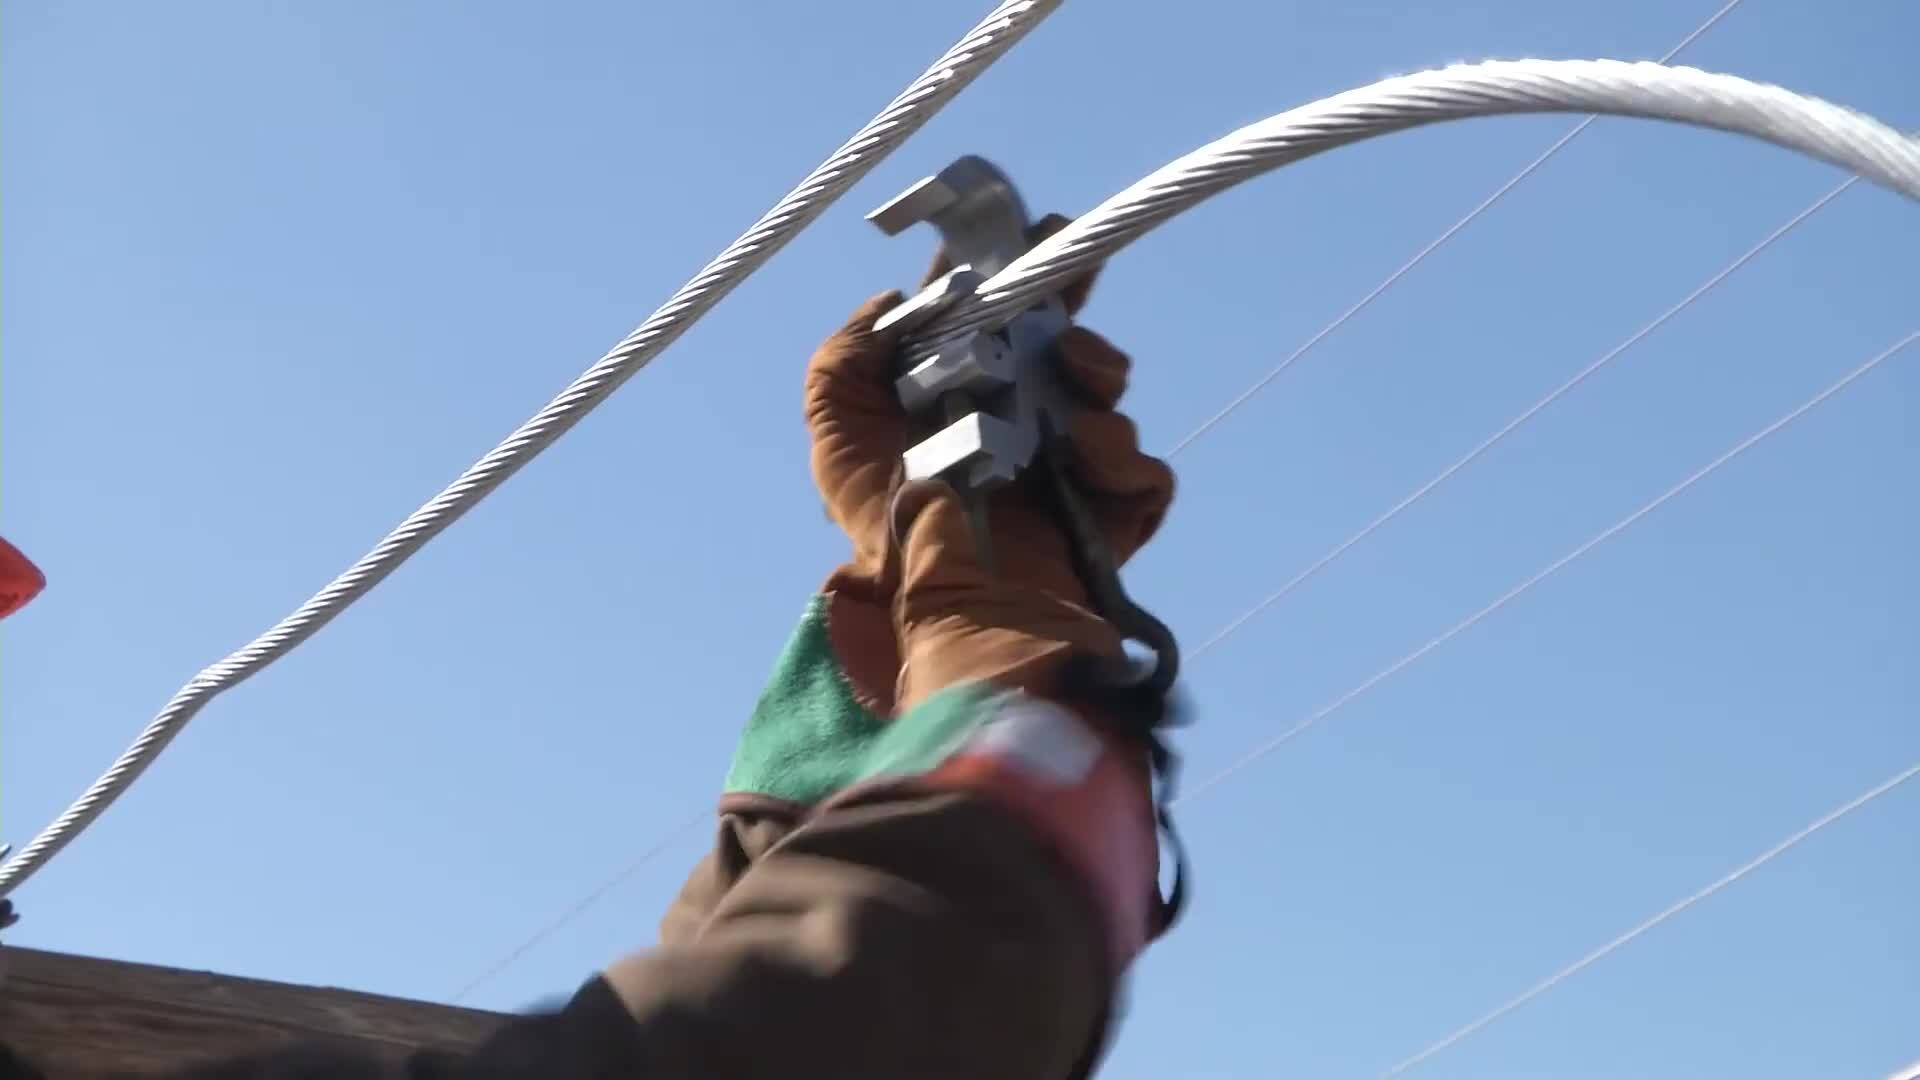
Transcript
00:01Welcome to connector products. Installation video in this segment,
00:05we will cover how to install the CP I tap using a hot stick.
00:09This connector is designed for use on overhead transmission distribution,
00:13substation and secondary applications on bare aluminum to aluminum or aluminum to copper
00:19conductors. It is full current rated, meaning there are no
00:22current limitations.
00:23It can be used on voltages from as low as 208 through 230 KV.
00:29This is the connector products wedge connector out of the packaging,
00:32you will find two separate pieces for the installation.
00:35These consist of the sea body and the interface. The sea body consists of the body sheer head
00:40bolt that will give you the proper torque and the drive wedge mechanism.
00:45The interface is the main connection between the conductors.
00:48Both are equipped with hot stick eyes for installation.
00:51When you open the package, the connector is ready to install as it comes factory installed
00:56with grit, corrosion inhibitor grease for your application.
00:59Be sure to have the proper safety equipment and hot sticks needed for installation.
01:04Connector products recommends two personnel to complete the job but it can be done with one
01:08person and two hot sticks. Make sure you have all the tools for the job.
01:12One standard shotgun stick and one universal hot stick with a spring loaded socket adapter
01:18is needed as well as a temporary piggyback clamp.
01:21Seen here check the part number and packaging to verify the correct part is available for the
01:26job. Always prepare the conductor to your company
01:29standards. CP I recommends wire brushing 6 to 8 inches of
01:33the conductor where the connection is to be applied if applicable strip insulation.
01:38So there is enough bear conductor to work with easily using a piggyback clamp.
01:43Tighten the bottom section around the tap wire leaving approximately 18 inches of conductor
01:48exposed on one side with your hot stick, attach the top portion of the temporary clamp to the
01:54main conductor and tighten in place. This will allow the conductors to be in control
01:59during installation unscrew the bolt by hand on the CP I connector to open the body up giving
02:05more space within the connector to work with hold or hook the sea body with the shotgun
02:09stick with the provided shotgun eye using the hot stick,
02:13capture the tap conductor and push towards the main conductor until you are able to capture it
02:18with the connection. Have a partner hold or leave the shotgun stick
02:22hanging on the sea body for added stability with a second shotgun stick load the interface.
02:27It may be easier to orient the interface tab on the short finger of the shotgun stick clamp.
02:32This will aid in removal of the stick later slide.
02:35The interface in between the run and tap conductors make certain it is inserted fully
02:40into the body of the connection.
02:42There is a stop on the body that will prevent the interface from freely sliding through using
02:48a universal stick with spring loaded socket attachment, tighten the bolt until the sheer
02:52head shears off be certain to insert the socket fully covering the bolt head make your socket
02:58is perpendicular to wedge face. Do not apply lateral force on the bolt head.
03:03The top head of the bolt will shear off at approximately 150 inch pounds or 12 ft pounds
03:09of torque which results in 3000 pounds of force in the connection.
03:13There is no need to tighten the secondary bolt head any further.
03:16Remove the temporary piggyback clamp from the run and tap conductors installation is now
03:21complete. Remove all coverings from the work area.

CPI Hot Stick Tap
- private
- cpi