Transcript
00:01Here we are with the installation of connector products.
00:04Rail bonding connector connector comes in three pieces.
00:08There's the clamp itself, there's the indent
00:15and the nest.
00:18The tools that you need to install this cable disconnected is a 1516 sock and wrench
00:261516 s open end ranch in a hammer.
00:33The first step is to completely clean the section of rail where you want the connection
00:38to be made, we gonna make sure it's free of any rust and it's a nice smooth surface and then
00:44you want to apply some corrosion inhibiting grease or copper shield to the area where the
00:49connections to be made.
00:51This will help prevent corrosion done line.
00:58Next step is to start to position your nest.
01:02It's very important that the groove on top of this nest is always facing up that one.
01:08Sure, that's correctly seated to the rail.
01:11So place the nest onto the rail where it's designed and then insert your MC M
01:17cable into the nest, place the indent on top
01:25and now it's time to hook the clamp onto the rail itself.
01:34So hook the connector through the rail and then slide the whole clamp into position on top of
01:41the indent. Now I can go ahead and begin to tighten the
01:44drive ball by hand as you're doing this, make sure that the wire and the nest are properly
01:51seated against the rail and go ahead and hand, tighten this boat.
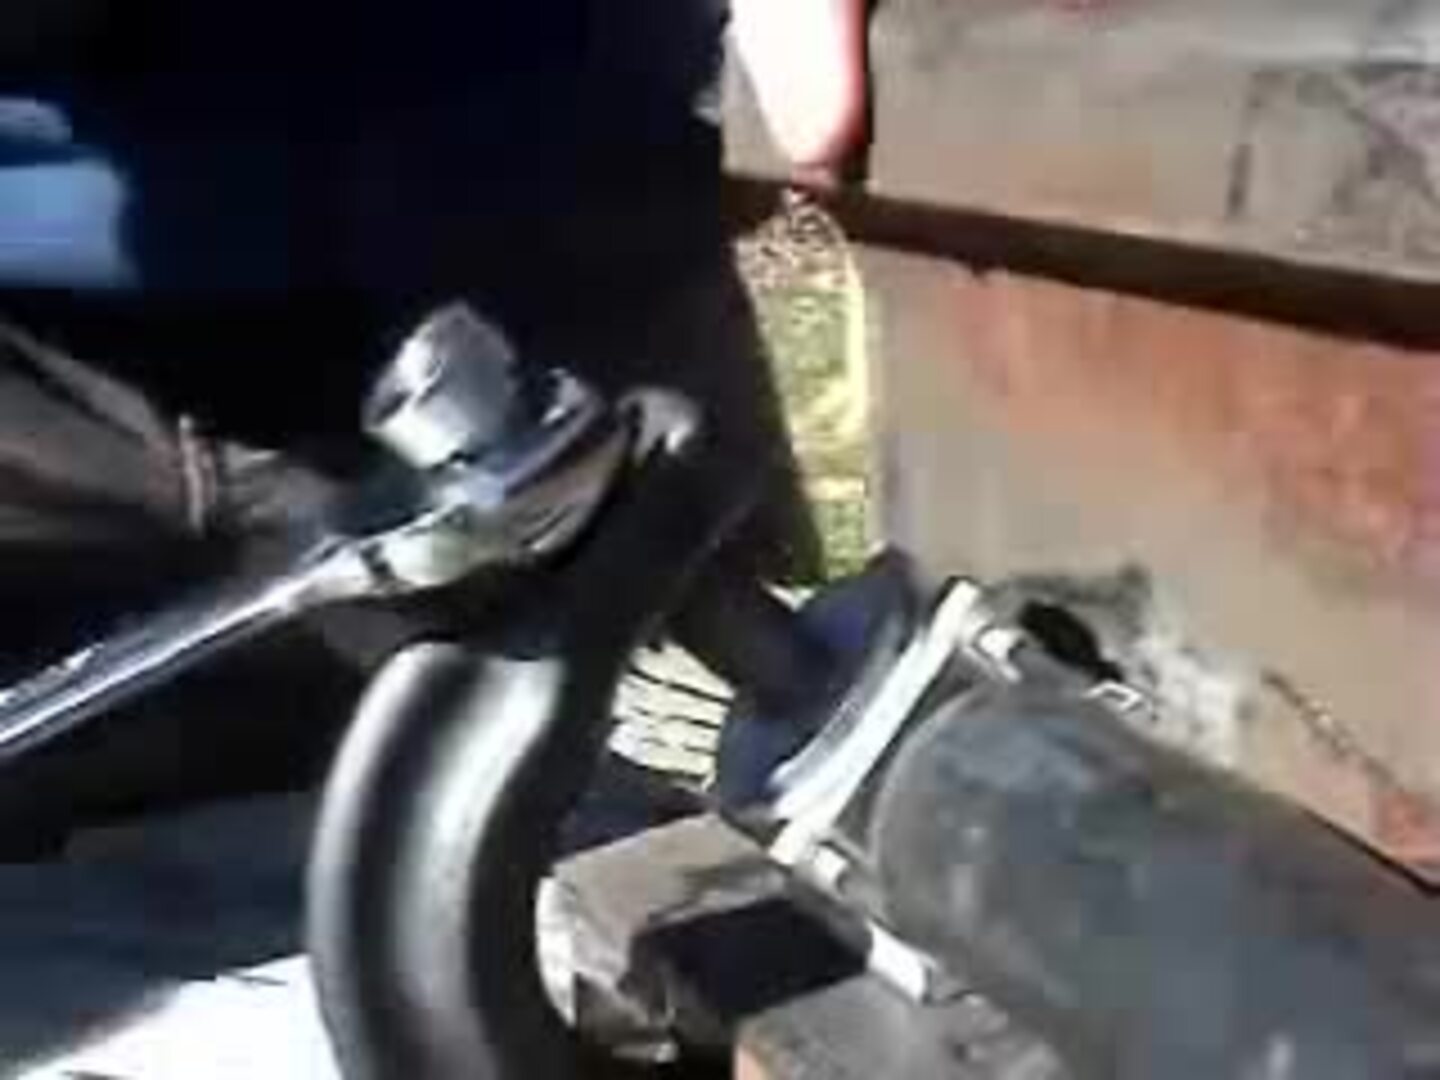
01:57You might want to give it a couple of cranks with your wrench until it's fairly tight and
02:03then go ahead and use a hammer and hit the clamp right down here.
02:09What this does is help to properly seat the cable and the nest to make sure everything is
02:13in line. You might notice that the bolt has loosened a
02:17little bit or appears to be loose, it's perfectly fine and it's all part of the process.
02:23So at this point can now go ahead and screw this bolt all the way down.
02:29You'll notice here it's a new shear head design where when you tighten this to 65 ft pounds,
02:35it's going to break off ensuring proper torque is on the connection.
02:55You can see there the head is broken off. We've applied the proper torque to the
02:58connector itself at this point. Use the open end wrench,
03:03go ahead and tighten down this jam nut which prevent any loosening due to train vibration.
03:14There. You have it complete installation at this point.
03:18It's no problem to go ahead and bend the MC M cable in any direction you like without any
03:23fear of disturbing the connector.
03:27So if you'd like to reuse this connector, simply follow the steps backwards first
03:34by loosening the jam nut, go ahead loosen this nut
03:41until it engages what's left of the drive bolt and continue loosening
04:12back the dry screw fully out.
04:15We can disengage the plant, move the denture,
04:22remove the cable and remove the nest.
04:25So to reuse this clamp peel off the insulator and you'll notice there is a
04:31small allen head screw in the bottom.
04:36You can use an Allen key to remove that screw.
04:51And the pressure plate put this aside for later use,
05:00you can go ahead and fully remove the spent dry bulk
05:20insert, a new drive bolt.
05:31You want to make sure you have your split washer and jam nut in the correct order
05:41on the top of this bolt, you'll notice there's a small threaded hole to accept the all screw
05:46you just removed. So take that screw it back into the dry screw,
05:59use the Allen key, tighten everything down,
06:17secure the insulator back onto the pressure plate.
06:20Now you've completely recovered the plant and you may use it again.
06:25That's it.

CPI Rail Clamp Install Rev A
- private
- cpi