Transcript
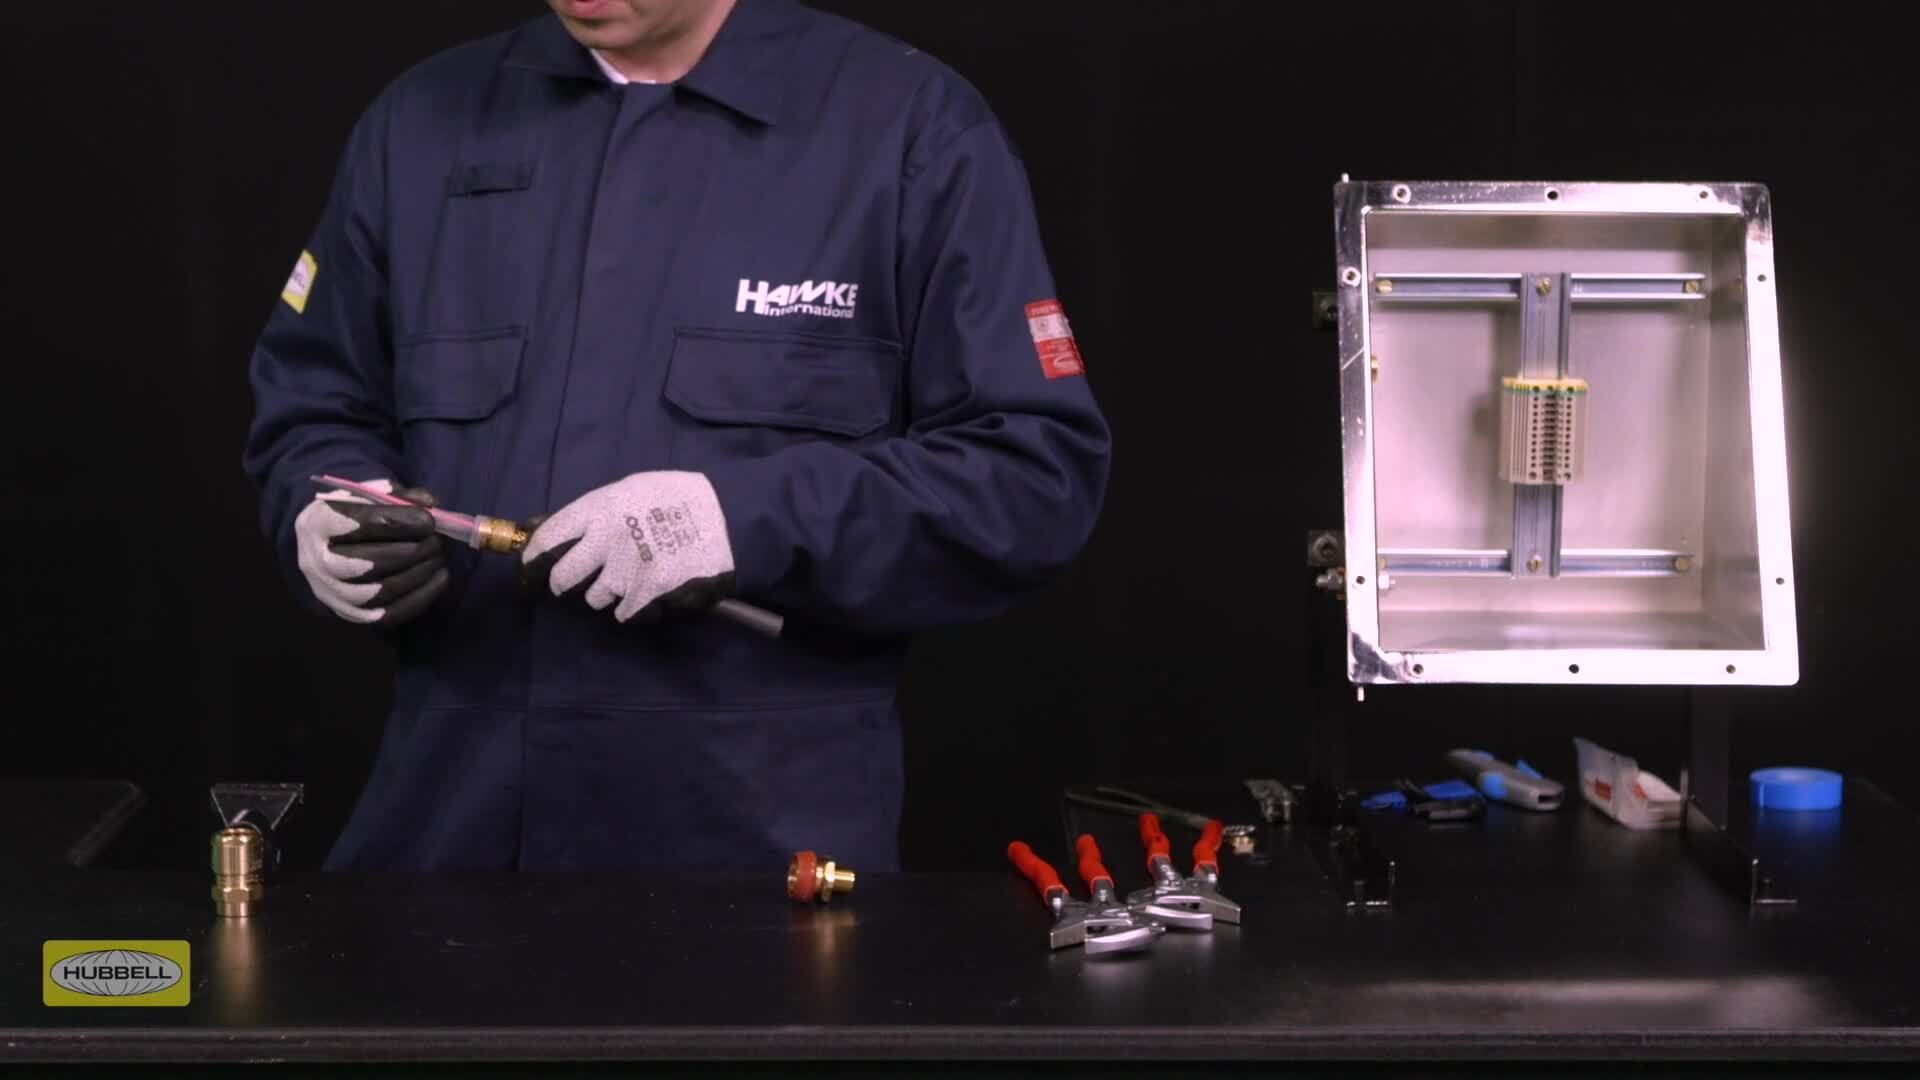
00:04The IC G 653 universal cable. Gland consists of six key components,
00:10entry with deluge boot, a laster clear compound pot spigot,
00:15reversible armor clamping ring, middle nut with patented tightening guide and back nut.
00:21This dual certified cable. Gland is designed for use with all types of
00:25elastomer and plastic insulted cables including armored braided and unarmed cable types.
00:33The IC G 653 universal is especially suitable for cables that exhibit cold flow
00:38characteristics and are not effectively filled or have hydroscopic fillers.
00:44Assembly instructions are provided with Hawk cable glances or can be downloaded by the Hawke
00:49website allow sufficient length of cable to suit the equipment.
00:54The cable is being terminated into strip the outer sheath and cut the armor to enable
00:59connection to the conductors to the terminal.
01:01Remove a further 20 millimeters of outer sheath for cable glands os to a size 25 millimeters
01:08for B to C two size and 32 millimeters for D to F size
01:17slide the back nut, middle nut and armor clamping ring onto the cable.
01:22Ensure that the orientation of the reversible armor clamping ring is correct with the
01:27arrowhead indicating the correct armor braid or tape pointing to the equipment.
01:33Always refer to the Hawk assembly instructions for guidance on the correct armor clamping
01:37orientation tip.
01:40Alternative rings may be required if the cable doesn't fall within the R A CS standard
01:45clamping range, spread the armor or braid by gently pulling it away from the inner sheath of
01:51the cable. A screwdriver may be required for larger types
01:55of cables tip.
01:57If Hawk seal or QSP is being used, remove the rubber resin dam before installing the figures
02:03component slide, the spigot over the cable, taking care not to damage the rubber resin
02:10dam, push the armor or braid up to the spigots shoulder slide in the clamping ring up to the
02:16armor or braid by hand, ensure the compound part is removed from the assembly
02:24slide, the entry over the cable slide, the middle nut up to the entry and hand tighten,
02:32support the cable to prevent it twisting, grip the entry with a spanner or wrench.
02:39Use a second spanner or wrench to tighten half to three quarters of a turn
02:50unscrew. The middle night, the armor clamping ring
02:53should now be locked in place.
02:57Visually inspect that the armor or braid has been successfully clamped between the spigot
03:01and the armor clamping.
03:03If it isn't satisfactory repeat, the previous step strip,
03:09the inner sheath back to between flush and three millimeters from the end of the spigot,
03:14remove any fillers, plastic or coatings present in the cable.
03:20It required, prepare any drain wires or screens as per assembly instructions.
03:252028, fit the pot and check that the inner sheath is the height of the pot shoulder.
03:31Your assembly is now ready for compound.
03:35Follow our Hawk seal compound or express resin installation videos for step by step
03:40instructions express resin is Hawke's best curing liquid pouring seal for
03:46use with Hawk barrier glands and short gloves are worn throughout the filling process.
03:53They are supplied with the resin as standard snap off or unscrew the cartridge lid and fit
03:59the nozzle purge approximately 25 millimeters or one inch of resin
04:06onto a disposable surface to ensure that the resin is properly mixed.
04:14Ensure the gland is held vertically with the nozzle starting as far down the pot as possible.
04:19Fill the resin to approximately three millimeters under flush.
04:23This is indicated on the silicon pot by the fill line shown on screen check that the resin
04:29is properly filled without any voids, manipulate the cable cores to
04:36ensure the resin has filled any voids between them.
04:39If air pockets are present, coax them out from the resin by manipulating the silicon pot
04:46tape the cores so they stand centrally to the pot.
04:50If the fill level drops below the minimum level, top up the resin to the fill line place the
04:56entry over the silicon pot to ensure it is held in the correct position,
05:01land installation can now continue.
05:05Now the potting is complete.
05:07Use a wrench to fit the entry into the enclosure.
05:10It required fit the appropriate IP washer onto the entry thread.
05:16Depending on the enclosure used, the method of installation will vary.
05:22Slide the cable through the entry until the pot is seated in the entry hand.
05:27Tighten the middle nut to the entry and add 1/5 to a quarter turn with a wrench,
05:37tighten the back nut until the seal is formed around the cable.
05:42Use a wrench or spanner to grip the middle nut while preventing the middle nut turning.
05:47Use a second wrench to apply one further full turn to the back nut.
05:54Use our patented middle nut typing guide as an indication that the back nut is in the correct
05:58position to suit cable diameter tip.
06:02A diameter scale is provided on our installation instructions to help with this
06:06process. Installation is complete.

Hawke ICG653UNIV Cable Gland Installation Guide Hawke International
- private