Transcript
00:04Kristen riggs here again with another Hubble. How to today.
00:07I'm going to introduce you to Reo's new grid brace and show you the steps for insulation.
00:12The grid brace is engineered to support ceiling fans and light fixtures weighing up to 70
00:16pounds. The grid brace comes fully assembled with a
00:20four inch round by two and an eight inch deep ceiling fan rated box.
00:24The first step to installing the grid brace is to cut a four and 1/4 inch diameter hole in the
00:29ceiling tile. Next is to select which knock out you want the
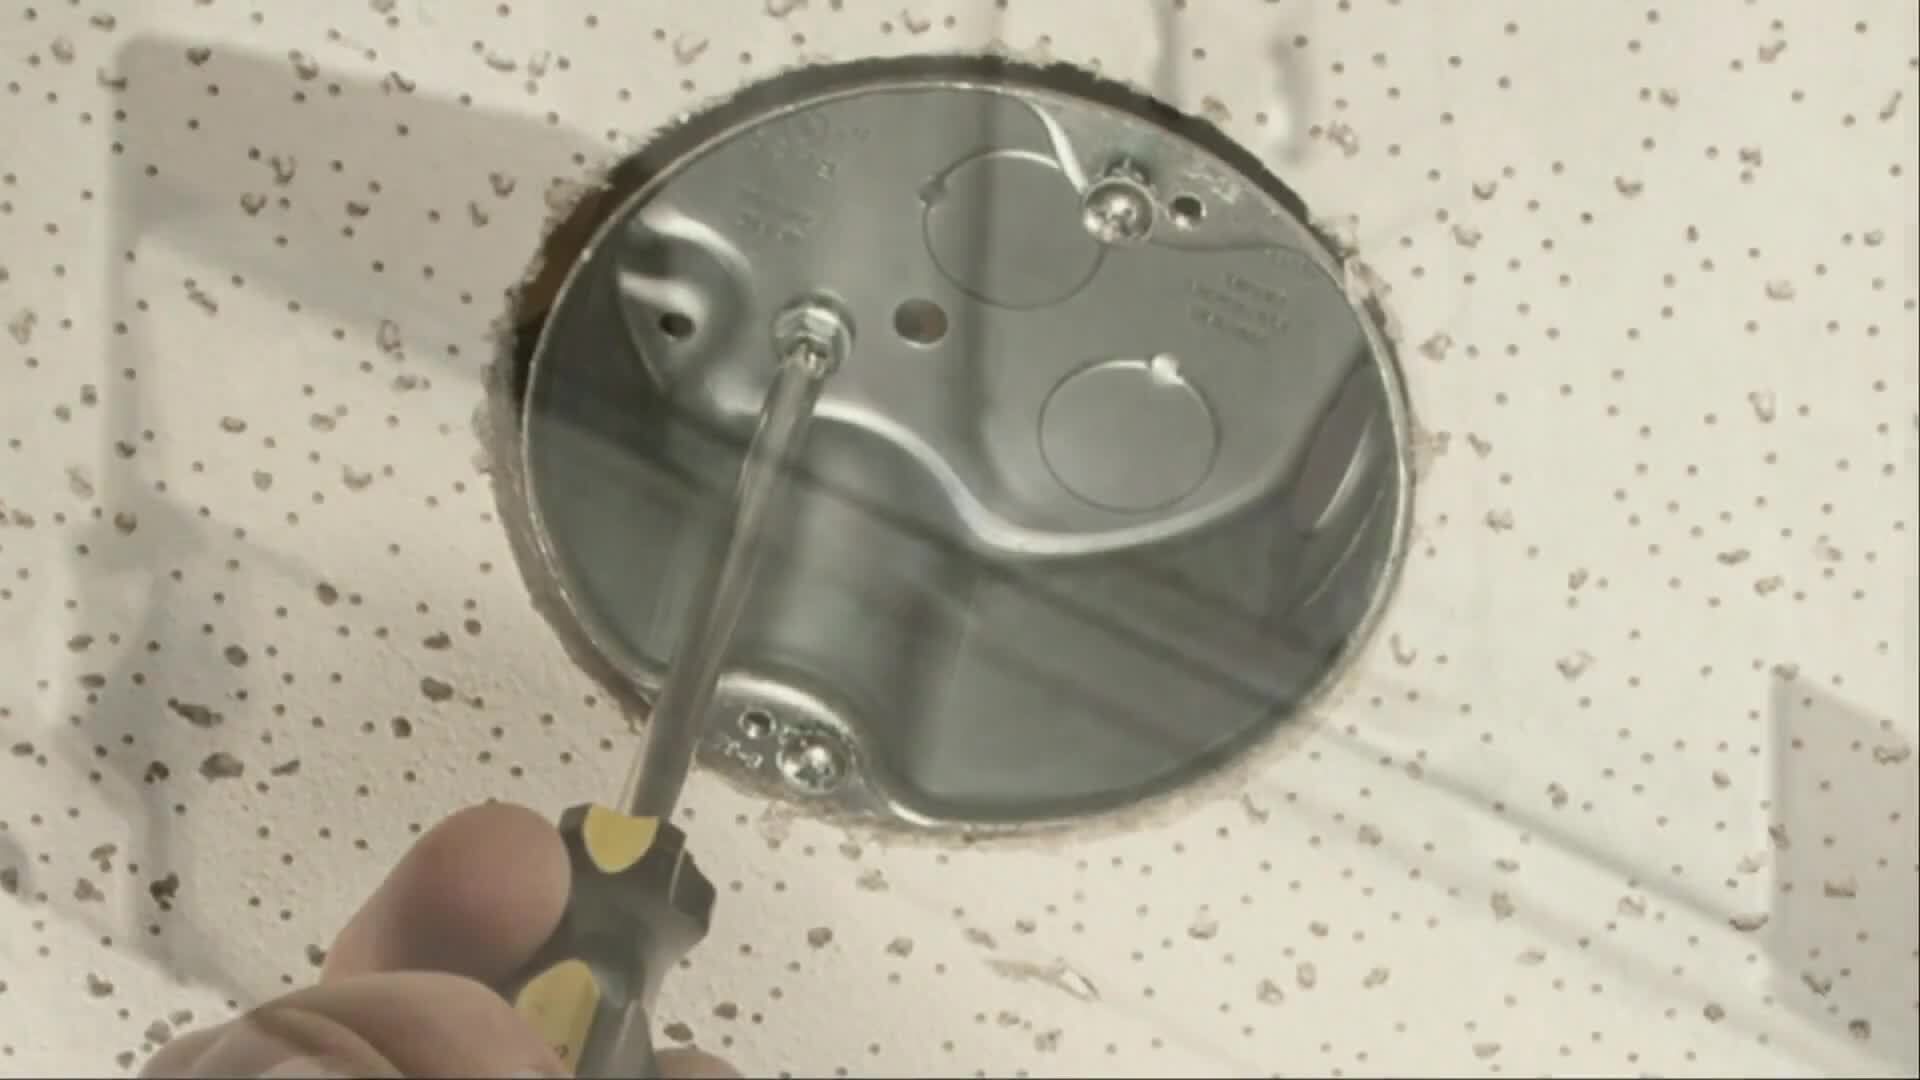
00:32wire to run through and remove this knockout. Now check to make sure the screws on either end
00:37of the brace are snuck. The brace is preset for the two and an eight
00:40inch deep box. But by removing the end screws,
00:43it can be positioned for a 1.5 inch deep box.
00:46The grid brace includes spacers that are used to provide a flush finish with nearly any
00:50ceiling tile mix and match the spacers to suit and position them between the brace and the box.
00:56They can be discarded if flat ceiling tile is to be used with the ceiling tile in place,
01:01locate the brace and box where desired and position and clip.
01:04So the long legs are on the outside of the grid and snap short legs on inside of the grid
01:09repeat for the other end if required by local code, secure end clips with sheet metal screws
01:14into ceiling grid through holes provided. Now center the box in the opening and secure by
01:19tightening the two screws in the back of the box.
01:21The next step is to support the brace from a solid structural member.
01:25Typically, this will be a framing member deck or some other solid means of support,
01:30support the grid brace using the chain and turnbuckle that is included,
01:33adjust turn buckle to remove slack and chain lock in place by tightening lock nuts.
01:37The grid brace also includes an optional yoke that can be used with a 3/8 inch threaded rod
01:42to support the grid brace to the building structure.
01:45To use this option, remove the turnbuckle by removing the nut and bolt reassemble bolt
01:49including sp assemble yoke to bolt, keeping spacer in center and tighten bolt and nut,
01:55tighten nuts on either side of the yoke to secure brace.
01:58Finally complete the wiring using a UL listing connector for the wiring type selected.
02:03You are now ready to install the fan or fixture screws are supplied for mounting the fan and
02:08threaded holes are provided for mounting a fixture.
02:11The grid brace is supplied in cartons containing four complete units.
02:14Each unit contains a set of spacers, a chain and turn buckle a yoke for threaded rod and
02:19assembly instructions. These materials are contained in the electrical
02:23box under the protective cover. The grid brace can be ordered under reo catalog
02:27number 931 for this and other fine reo products. Please visit our website.
02:33I'm Kristen Riggs and that was the Hubble. How to?

RACO GRID-BRACE
- private