Transcript
00:04RACO, producing quality electrical boxes and covers for over 100 years, offers a full line of
00:10mud rings. Our innovative hinged adjustable mud rings are
00:14designed for both 4" and 4 11/16" square boxes.
00:19Hinged adjustable mud rings speed up installation time while also providing
00:23flexibility for whenever finished wall depths are unknown or may change.
00:27There are one or two device models for 4" square and 4 11/16" square boxes that are 2 1/8" deep.
00:35The design improves contractor productivity at the job site,
00:39whether the product has some assembly done in advance or a complete prefabricated solution.
00:45Let's run through an installation. So you can see some of the handy time saving
00:49features. This assembly starts with a RACO 232S box
00:53with pre installed grounding pig tail and built in stab-it connectors.
00:58The box location falls between the studs, so we're using the Raco adjustable open center
01:03bracket which eliminates the need for far side support while accommodating up to 24" stud
01:08spacing for speed and flexibility at the job site.
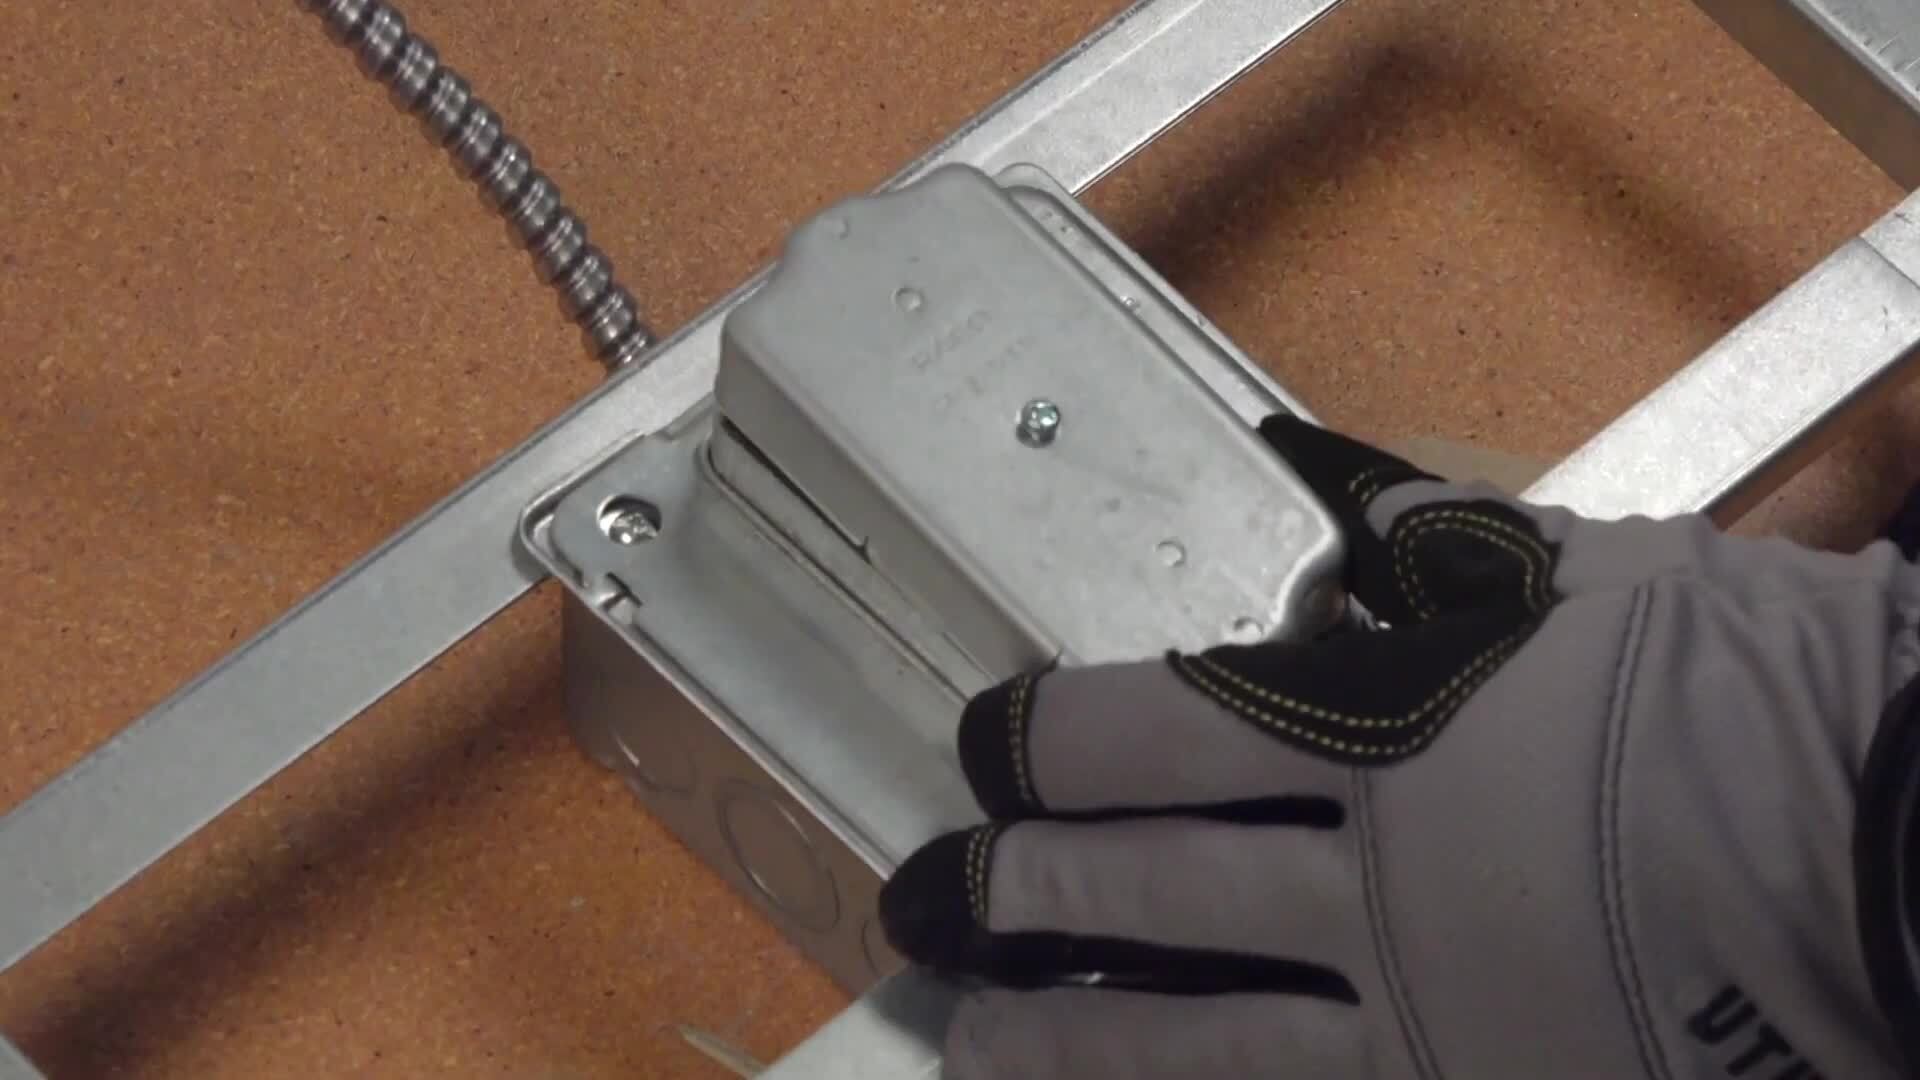
01:12Now we attach the L shaped frame part of the hinged adjustable mud ring,
01:16which is designed to install to any standard square box without removing the box screws.
01:22Same goes for the four and 11/16" box mud rings, except the frame is C shaped to accommodate the
01:28additional screw locations at any box orientation.
01:32At this point, we'll fully tighten just the screw on the hinge side.
01:36Many of these assembly steps may go in a slightly different order.
01:40But for our situation, we'll install the device next and then insert the specified length of
01:46MC and make the preliminary wiring terminations.
01:56Now we finish the assembly by attaching a RACO raised protector plate which protects the
02:01wiring device and box from the router bit, drywall, mud,
02:05debris and paint.
02:08If this was coming from a prefab shop, it would arrive at the job site labeled with
02:13instructions, identifying the install location and other pertinent details at the job site.
02:19We can start efficiently installing the various assemblies.
02:22Here, we're Daisy chaining a series of outlets on this circuit which really shows the benefit
02:27of the hinged mud rings.
02:29We simply open the mud ring, insert the MC whip from the adjacent assembly into the stait
02:34connector and make the necessary terminations, then shut the mud ring,
02:40close the latch and tighten the screw with conventional mud rings.
02:46The box becomes unattached from the bracket. If the mud ring is ever removed to expose the
02:51entire box opening but hinged, adjustable mud rings stay connected to the bracket when opened
02:57and everything is conveniently accessible from the front of the box,
03:00not from behind, like some systems, it prevents the hassle of going back and forth or dealing
03:06with the obstruction of a solid wall.
03:08Since we're pointing out efficiency, we should highlight the labor savings from the adjustable
03:13feature too. It adjusts from 1/2" to 1 3/8",
03:18adding flexibility when finished wall depths change or are unknown.
03:23The adjustment screws are inside the ring remaining accessible with a device installed
03:28drywall hung and any finished wall treatments easily achieve a flush finish while also
03:34reducing installation time.
03:36So on your next project, ask for RACO Hinged Adjustable Mud Rings.
03:41Great for prefab applications and more. Always look to Hubbell RACO for your electrical needs.

RACO Hinged Adjustable Mud Rings
- private
- electrical contractor
- electricalcontractor