Transcript
00:09Rao. The market leader in electrical boxes offers a
00:11full line of ceiling fan support boxes designed and rated to meet the heavier load requirements
00:16of a fan or a light fixture such as a chandelier on today's Hubble.
00:21How to we'll be going over the 294 a 200 an eight inch deep,
00:25heavy duty, versatile four inch round electrical box with some unique features that
00:29make it ideal for both new and old work situations.
00:32First off, I'll run through a typical install in an old work environment where the ceiling
00:36joists are hidden by the finished drywall. If this install was in a new location,
00:40I would locate the edge of the joist and cut a hole in the desired spot here,
00:45I'm upgrading an existing round box so I can utilize the same hole using a stud finder.
00:50Again, I'll confirm the location of the joist relative to the box.
00:54It's directly adjacent to the box, which makes this an ideal situation for a 294 upgrade.
00:59If the box was located between the joists or directly below the joist,
01:03then use one of our other boxes. Watch our video on choosing the correct ceiling
01:07fan box. For more details, Rao has a solution for any
01:11location you encounter.
01:13Remember to turn the power off at the breaker before performing any electrical work.
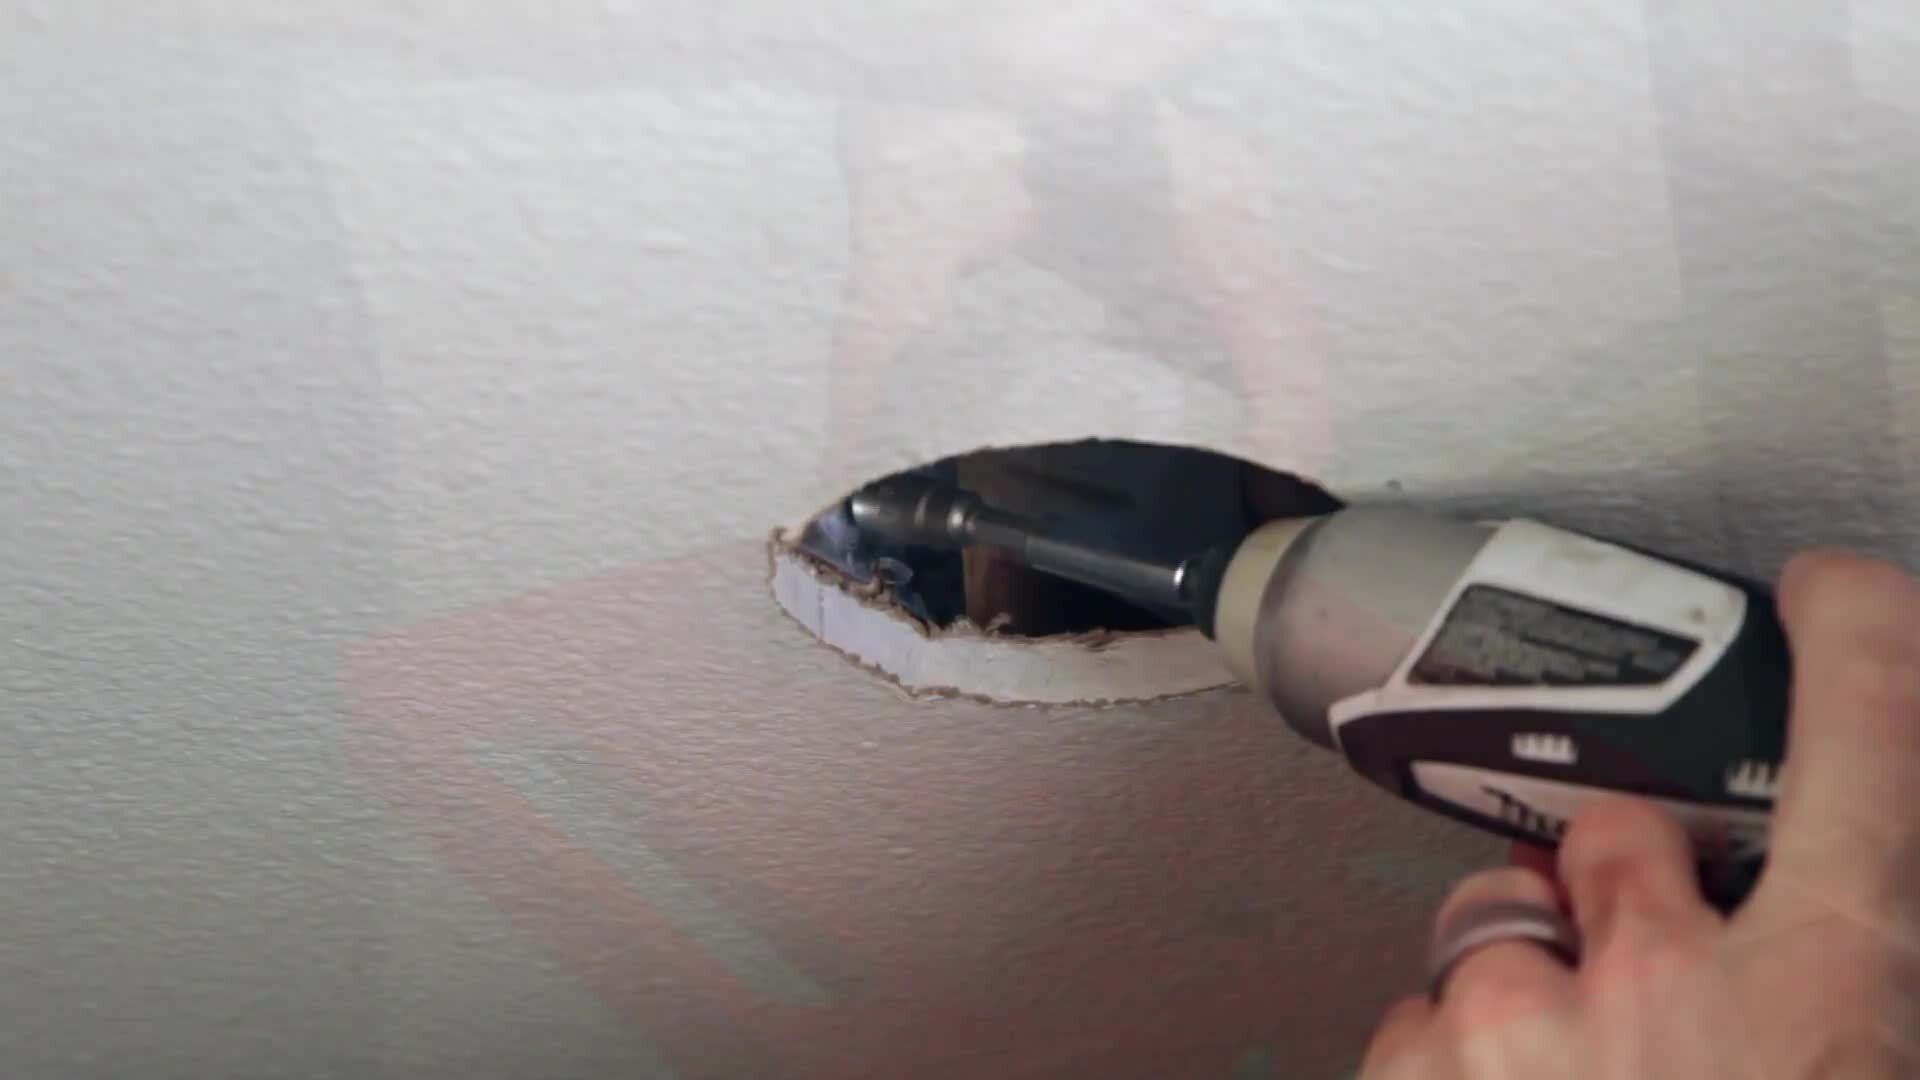
01:18Remove the old box by hacks, sawing or prying out the nails.
01:21Be careful to avoid cutting or nicking the wires.
01:24Next, insert the bracket into the opening up against the joists and center it in the whole
01:28opening with the edge of the bracket resting on top of the drywall drive,
01:33one of the three heck screws partially in holding the bracket firmly in place,
01:37drive a second screw until tight for ease of install.
01:41I like to use a magnetic bit.
01:43Now drive the last screw and go back and tighten up your first screw.
01:48Now remove the knockout that's oriented with the wire run route,
01:53the wires through the knockout you removed and attach the box to the bracket with the two
01:57number 1224 machine screws. Now I can secure the wires with the insider
02:01connector for mounting a heavy fixture or fan up to 70 pounds.
02:06Use the included 1032 screws for lights under 50 pounds.
02:10You can use the 832 holes when it comes time to wire the fan or light,
02:14use the provided green ground screw to connect the ground wire,
02:18everything per the light fixture or fan instructions.
02:21Being sure to follow any local electrical codes for new construction.
02:26Use the bracket flips around and attaches to the box prior to mounting bend,
02:31the setback tab to match the desired ceiling thickness from half inch or five eights up to
02:35an inch and a half and attach to the box using the mounting ear screw that's on the braket
02:40side of the box. Now I'm ready to install on the joist using the
02:44setback tab to assure the right depth. I'll attach the box assembly to the joist with
02:48the three included heck screws fully embedding the screws into the wood but not over
02:52tightening with the box mounted. I can remove and discard the setback tab when
02:58it comes time to run the wiring. If you haven't already,
03:00then remove the necessary knockout or knockouts. If in the middle of a run,
03:05secure the wires to the box with the included insider connector and if ready,
03:11connect the ground to the box and prepare wiring per local code requirements.
03:16Use the included cover to protect the wiring until ready for final light or fan installation.
03:21This new construction installation is rated for up to a 70 pound fan or a 150 pound light
03:27fixture. So for any of your commercial,
03:30industrial or residential electrical projects, look to Rao for proven and trusted solutions.

RACO 294 Ceiling Fan Video
- private