Transcript
00:06The following video is how to properly prepare cable for assembly installation with medium
00:11voltage cold shrink kits, proper installation preparation and overall workmanship is
00:17imperative. Proper cable prep and installation improves the
00:21life of connections and reduces the risk of damage to surrounding areas and can save
00:26thousands of dollars in labor and parts.
00:29Keep blade sharp applies to both knives and specialty tool set the blade depth on scrap
00:35cable, crimp connector correctly.
00:38U shaped dyes may cause or put a curve in the connector, rotate the crimp each time to keep
00:44straight measure twice and cut once.
00:47Tape shield is most commonly installed in industrial applications and jacketed concentric
00:53neutral conductor is most commonly installed in utility and renewable applications.
00:58Read through all the instructions and mark all pertinent information with a highlighter to
01:03make sure you are selecting the correct MV termination based on the manufacturer type and
01:08size of cable as well as the insulation dimension.
01:11This will help you in calculating the correct dimension of the cut back to do the
01:15installation correctly.
01:17These are the following tools you'll need wooden rule or paper,
01:22electrician's knife, scissors, needle, nose pliers and or specialty tools like a banana
01:28peeler, Semicon cutters, Semicon stripper, square and square cut all in one tools or
01:35cable. Installation tools use the rule to take the
01:38correct measurement of the cable and follow the instruction manual to determine the correct
01:43dimensions for each layer of the cable.
01:46Apply a constant force spring on the jacket at the mark and use your electrician's knife to
01:50score the jacket score around the circumference of the jacket of the cable.
01:55Be sure not to cut too deep.
01:57This is to protect the metallic shield on the cable, make scores in the jacket layer all
02:03around the circumference of the cable and then down the length of the cable making
02:07longitudinal cuts approximately quarter inches apart,
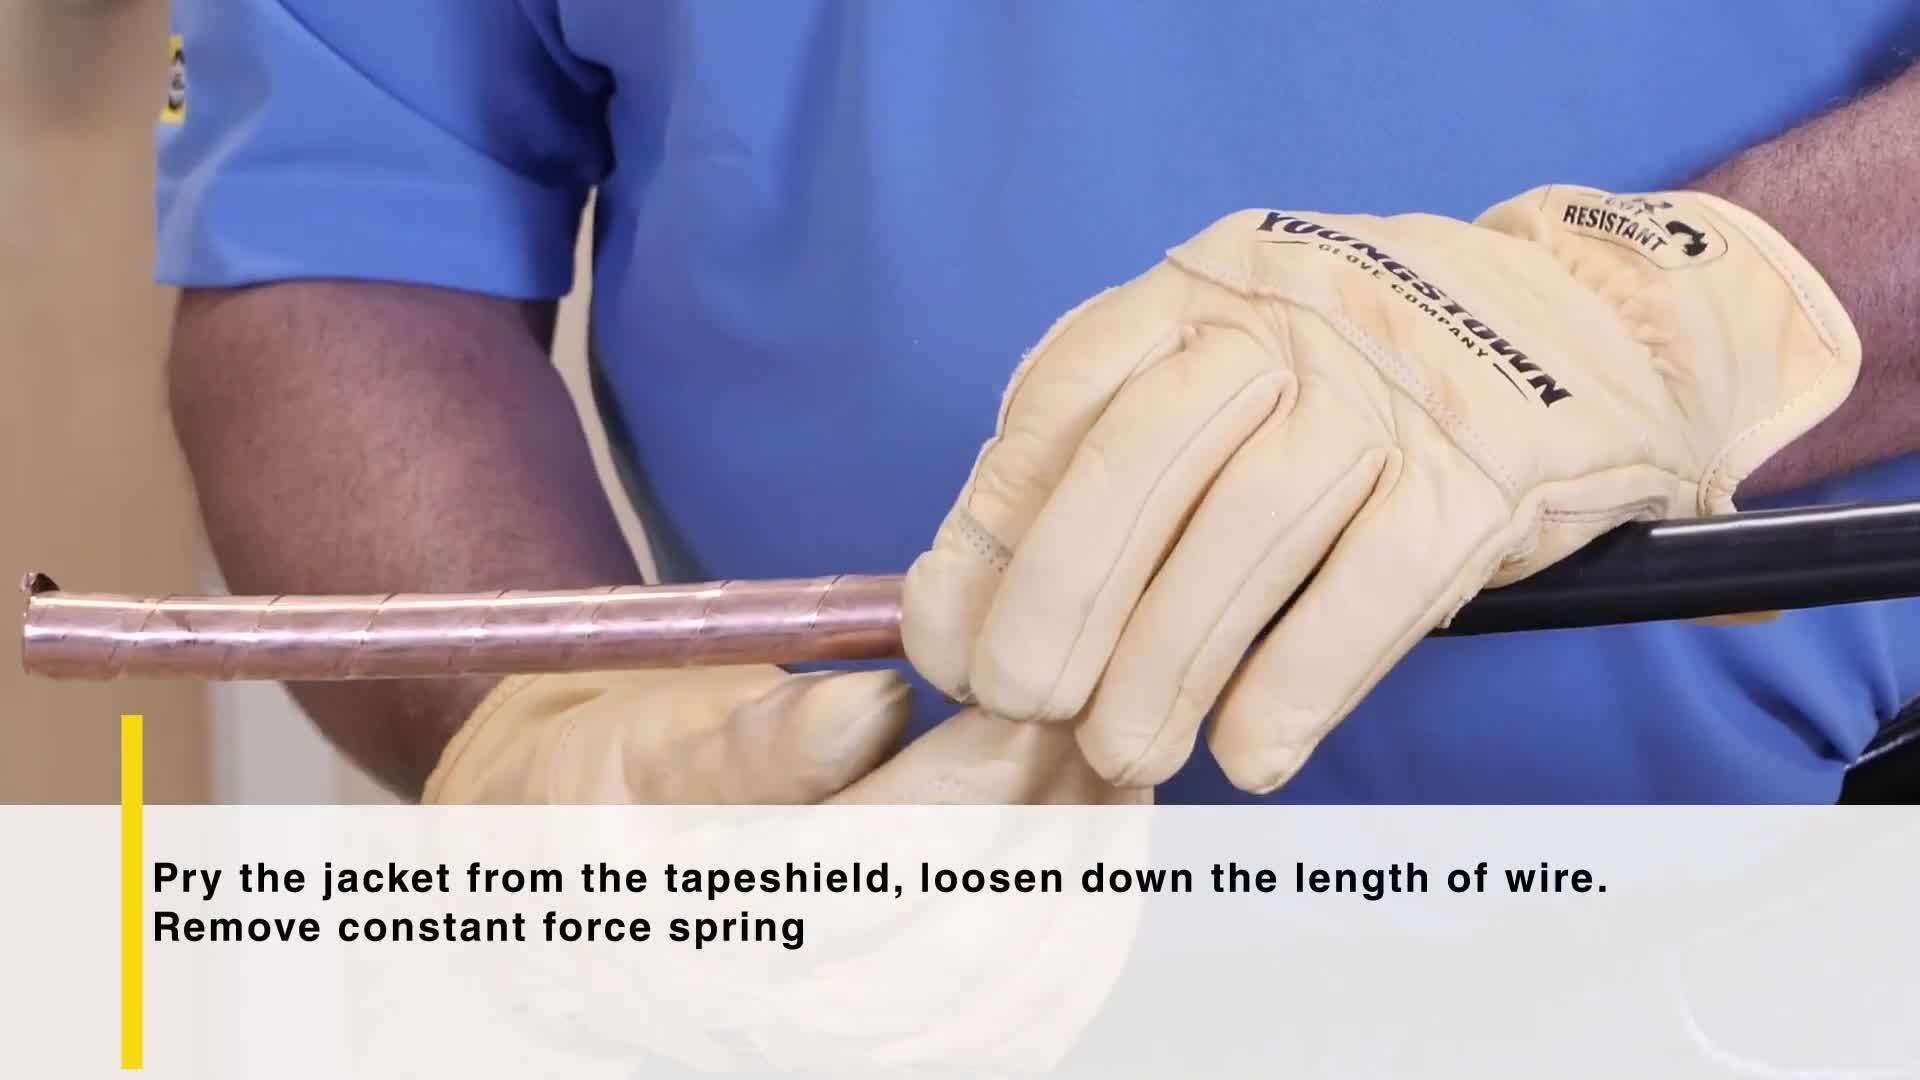
02:15pry the jacket from the tape shield. As you loosen the jacket down the length of the
02:19wire, use needle nose pliers to remove the jacket,
02:28finish removing the jacket, exposing the tape shield and then remove the constant force
02:33spring. Removal of the tape shield
02:39layer, use a non conductive wood ruler to mark the jacket to the predetermined measurement.
02:46According to the installation instructions, use a constant for spring again in the package as a
02:51marker, which can also be used for a clean cut.
02:55If you wrap the spring one or two times, you could adjust the spring as a marker for the cut
02:59back of the shield for a precise dimension to cut.
03:03Use the electrician's knife pressing the blade into the shield without damaging the Semicon
03:08layer, remove the
03:14tape shield starting at the end of the cable where the lug is to be applied to the constant
03:19force spring. Now remove the constant for spring and apply
03:23the copper foil tape to the edge of the tape shield.
03:25To ensure a clean edge.
03:27The Semicon layer is where the cuts need to be square with no jagged edges.
03:32If your blade depth is not correct or you put too much pressure on your knife,
03:37you may not even be able to see the cut.
03:39The objective is to remove all potential air gaps as air gaps will be the biggest cause of
03:44failures. Removal of the Semicon layer.
03:47This is the most important part of the installation.
03:50Use a constant for spring again in the package as a marker which can also be used for a clean
03:55cut measure and score the Semicon to create your cut back mark,
04:00always have nice square cuts.
04:02The Semicon layer is the most electrical stressed area make scores in the Semicon layer
04:08all around the circumference of the cable and then down the length of the cable to create
04:12strips. Once you have created a
04:18strip, you can use needle nose pliers to unwind the Semicon layer back toward the constant
04:24force spring. Once the first strip has been removed,
04:27strip back, remaining Semicon layer to the edge of the constant force spring or make additional
04:32longitudinal cuts as needed. Removal of the cable insulation layer measure
04:38where the cutback mark will be using the electrician's knife score,
04:42the insulation layer and cut through at the mark around the circumference and the length of
04:47the insulation but do not score or nick the cable stranding.
04:52Now your conductor is prepared to install the connector and medium voltage,
04:56cold shrink termination kit.

BURNDY Cable Preparation for Medium Voltage Cold Shrink Kits
- private