Take a TourHere is a glimpse of Burndy’s Solutions for the different Markets.
Take a TourA quick look through the various markets we are equipped to cater to: browse Burndy Markets
Transcript
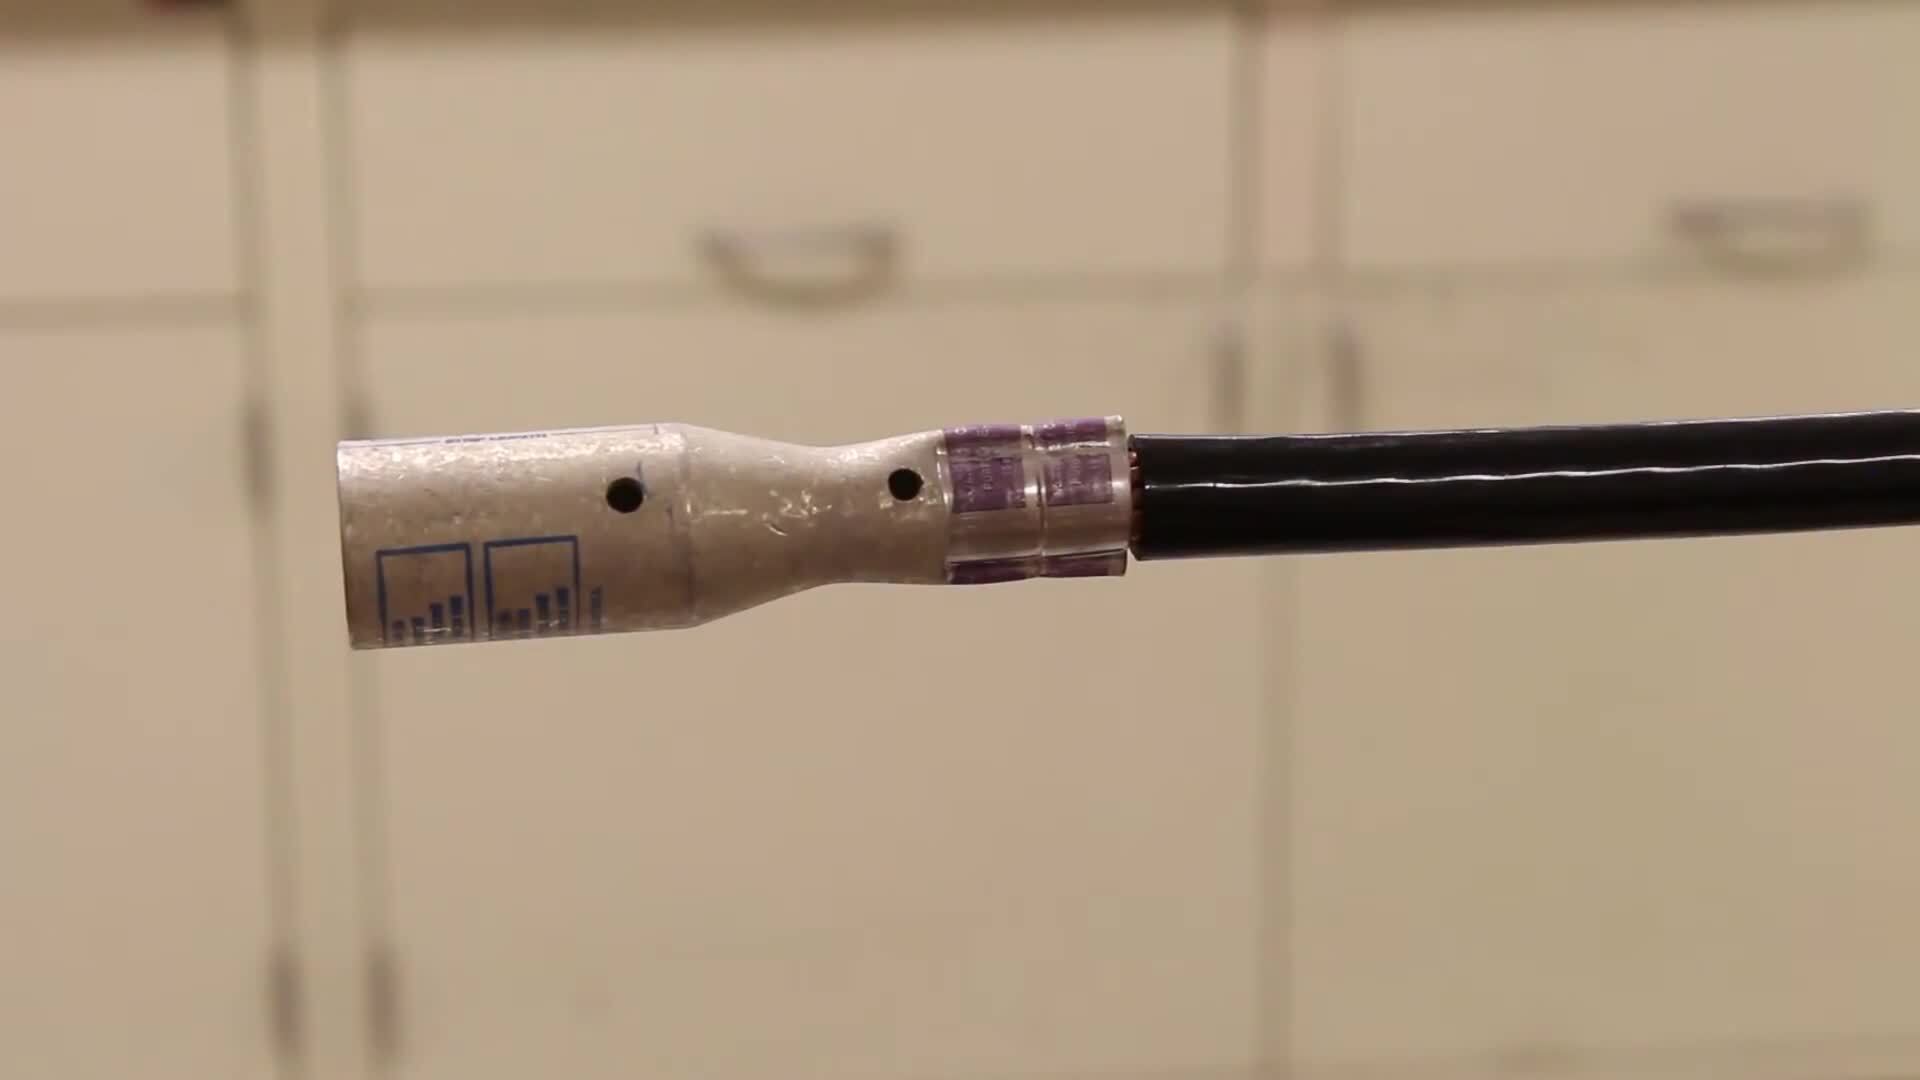
00:00The following tutorial is for a one piece installation.
00:04When beginning preparation for the installation, you will need to take the YSR connector and
00:09position it over the cable and mark strip the installation to the mark.
00:15Be careful not to nick the cable during stripping of the wire.
00:19Once you have stripped the wire, insert the cable into the connector,
00:24insert the connector in the dye and ensure the cable is fully inserted.
00:29The cable strands must be visible through the inspection holes.
00:33Now you can compress between markings beginning near the center of the connector to make the
00:38connection, make sure that you always crimp from the center going outwards.
00:44Once the connection is made, slide the tube over barrel one and then using the same steps
00:49above connect barrel two, you will now need to slide the tube
00:56over the center of the completed assembly and apply heat for heating
01:03temperature. Use a low temperature heat shrink and a low
01:06wattage gun or the low setting on a multiple wattage gun.
01:10For these clear tubing installations, 100 and 35 °C 275 °F
01:17is the max your installation is now complete. Thank you for watching this burnie installation
01:23instructional video.